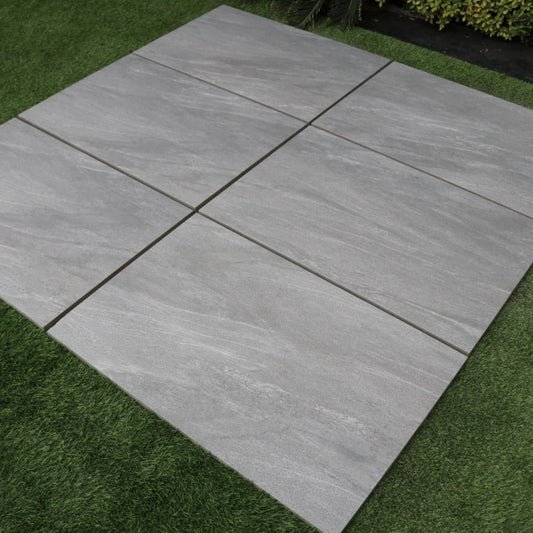
Paver slabs are a popular choice for enhancing the aesthetic and functionality of outdoor spaces, including patios, walkways, driveways, and garden paths. In 2025, the emphasis is not just on choosing the right type of paver but also on ensuring long-lasting performance through proper sealing and regular cleaning. With evolving environmental conditions and design trends, maintaining your paver slabs requires a proactive approach.
In this blog, we’ll dive into expert sealing and cleaning tips to help your paver slab stay durable, beautiful, and weather-resistant all year round.
Why Maintenance Matters in 2025
Climate changes, air pollution, and increased usage of outdoor spaces demand higher attention to the materials we use. Even the most premium paver slabs can lose their appeal if not maintained correctly. Cracking, fading, moss growth, and staining are common issues that arise over time. Fortunately, with the right sealing and cleaning strategies, these problems can be prevented or minimized.
The Importance of Sealing Paver Slabs
Sealing acts as a protective shield over your paver slabs. It not only enhances their natural color and texture but also protects them from moisture, UV rays, oil stains, and weed growth.
When to Seal
- New Installations: Wait at least 30 days after installation to allow for settling and curing before applying a sealer.
- Re-Sealing Older Pavers: If your pavers are already sealed, consider reapplying the sealer every 2–3 years or as recommended by the product instructions.
Types of Sealers
In 2025, environmentally safe and water-based sealers are gaining popularity due to their low VOC content and ease of application. Some common types include:
- Film-Forming Sealers: These create a visible layer on top of the pavers, enhancing gloss and color but may be slippery.
- Penetrating Sealers: These soak into the surface, offering long-term protection without altering appearance.
Choose based on the type of pavers, desired finish (matte or glossy), and environmental conditions.
Step-by-Step Sealing Process
- Clean the Surface: Ensure the paver surface is completely clean and dry before sealing.
- Test a Small Area: Always test the sealer in a small inconspicuous area to check for color change or unwanted effects.
- Apply Evenly: Use a roller, brush, or sprayer for even application. Avoid pooling.
- Allow to Dry: Most sealers need 24–48 hours to cure fully. Avoid foot or vehicle traffic during this time.
- Repeat if Necessary: Some sealers may require a second coat for optimal protection.
Effective Cleaning Tips for 2025
Routine cleaning is essential to maintaining the aesthetics and structural integrity of paver slabs. With more eco-conscious homeowners in 2025, there is a growing preference for natural and non-toxic cleaning solutions.
1. Sweep Regularly
Debris like leaves, dirt, and sand can accumulate in the joints, encouraging weed growth. Weekly sweeping prevents buildup and keeps your space looking neat.
2. Pressure Washing with Caution
Pressure washing is effective for deep cleaning but should be done carefully. Excessive pressure can damage the surface and dislodge joint sand. Use a fan-tip nozzle and keep the pressure below 2000 PSI for best results.
3. Eco-Friendly Cleaning Solutions
Instead of harsh chemicals, try these safer alternatives:
- Vinegar and Water: Ideal for removing mild stains and efflorescence.
- Baking Soda Paste: Great for tackling grease or oil spots.
- Dish Soap and Warm Water: A gentle solution for general cleaning.
Apply with a soft brush and rinse thoroughly to prevent residue.
4. Tackling Stains
Different stains require specific treatments:
- Oil and Grease: Blot immediately and use an absorbent powder like kitty litter before applying a degreasing cleaner.
- Rust: Use a specialized rust remover designed for pavers.
- Mold or Algae: A mixture of water and white vinegar or diluted bleach can help, but always test on a small area first.
Seasonal Maintenance Tips
Each season presents unique challenges for paver slab maintenance.
Spring/Summer
- Inspect for winter damage.
- Refill joint sand if needed.
- Clean thoroughly and consider resealing.
Fall
- Remove fallen leaves promptly to prevent staining.
- Prepare for winter by cleaning and sealing if necessary.
Winter
- Avoid salt-based de-icers, which can damage pavers. Use sand or pet-safe ice melts.
- Shovel snow with plastic blades to avoid scratching the surface.
Bonus Tip: Re-Sanding the Joints
Joint sand between pavers helps with stability and weed prevention. Over time, it can wash away due to rain or pressure washing. In 2025, polymeric sand is a recommended solution. It hardens upon wetting, locking the pavers in place and reducing weed growth.
Re-sand your joints before sealing to maximize the effectiveness of the sealer.
Conclusion
Maintaining paver slabs doesn’t need to be overwhelming. With the right sealing and cleaning techniques, your outdoor spaces can stay attractive and functional for years to come. As we move through 2025 and beyond, eco-friendly and efficient maintenance practices will continue to rise in popularity.
Whether you’re looking to protect a fresh installation or restore older pavers, these tips can help ensure that your paver slabs remain a long-lasting investment in your property’s curb appeal and durability.