Introduction
Solar panels are a great investment for clean and sustainable energy. However, one hidden problem many homeowners face is damage caused by birds, squirrels, and other critters nesting under their solar panels. These small animals can cause serious harm to your system—damaging wires, insulation, and reducing your solar efficiency.
That’s where a critter guard for solar panels comes in. This simple yet effective protective barrier helps keep pests away, increase your system’s performance, and save you money on maintenance.
In this 2025 complete guide, we’ll explore everything you need to know about solar panel critter guards—their benefits, installation process, costs, maintenance tips, and more.
What is a Critter Guard for Solar Panels?
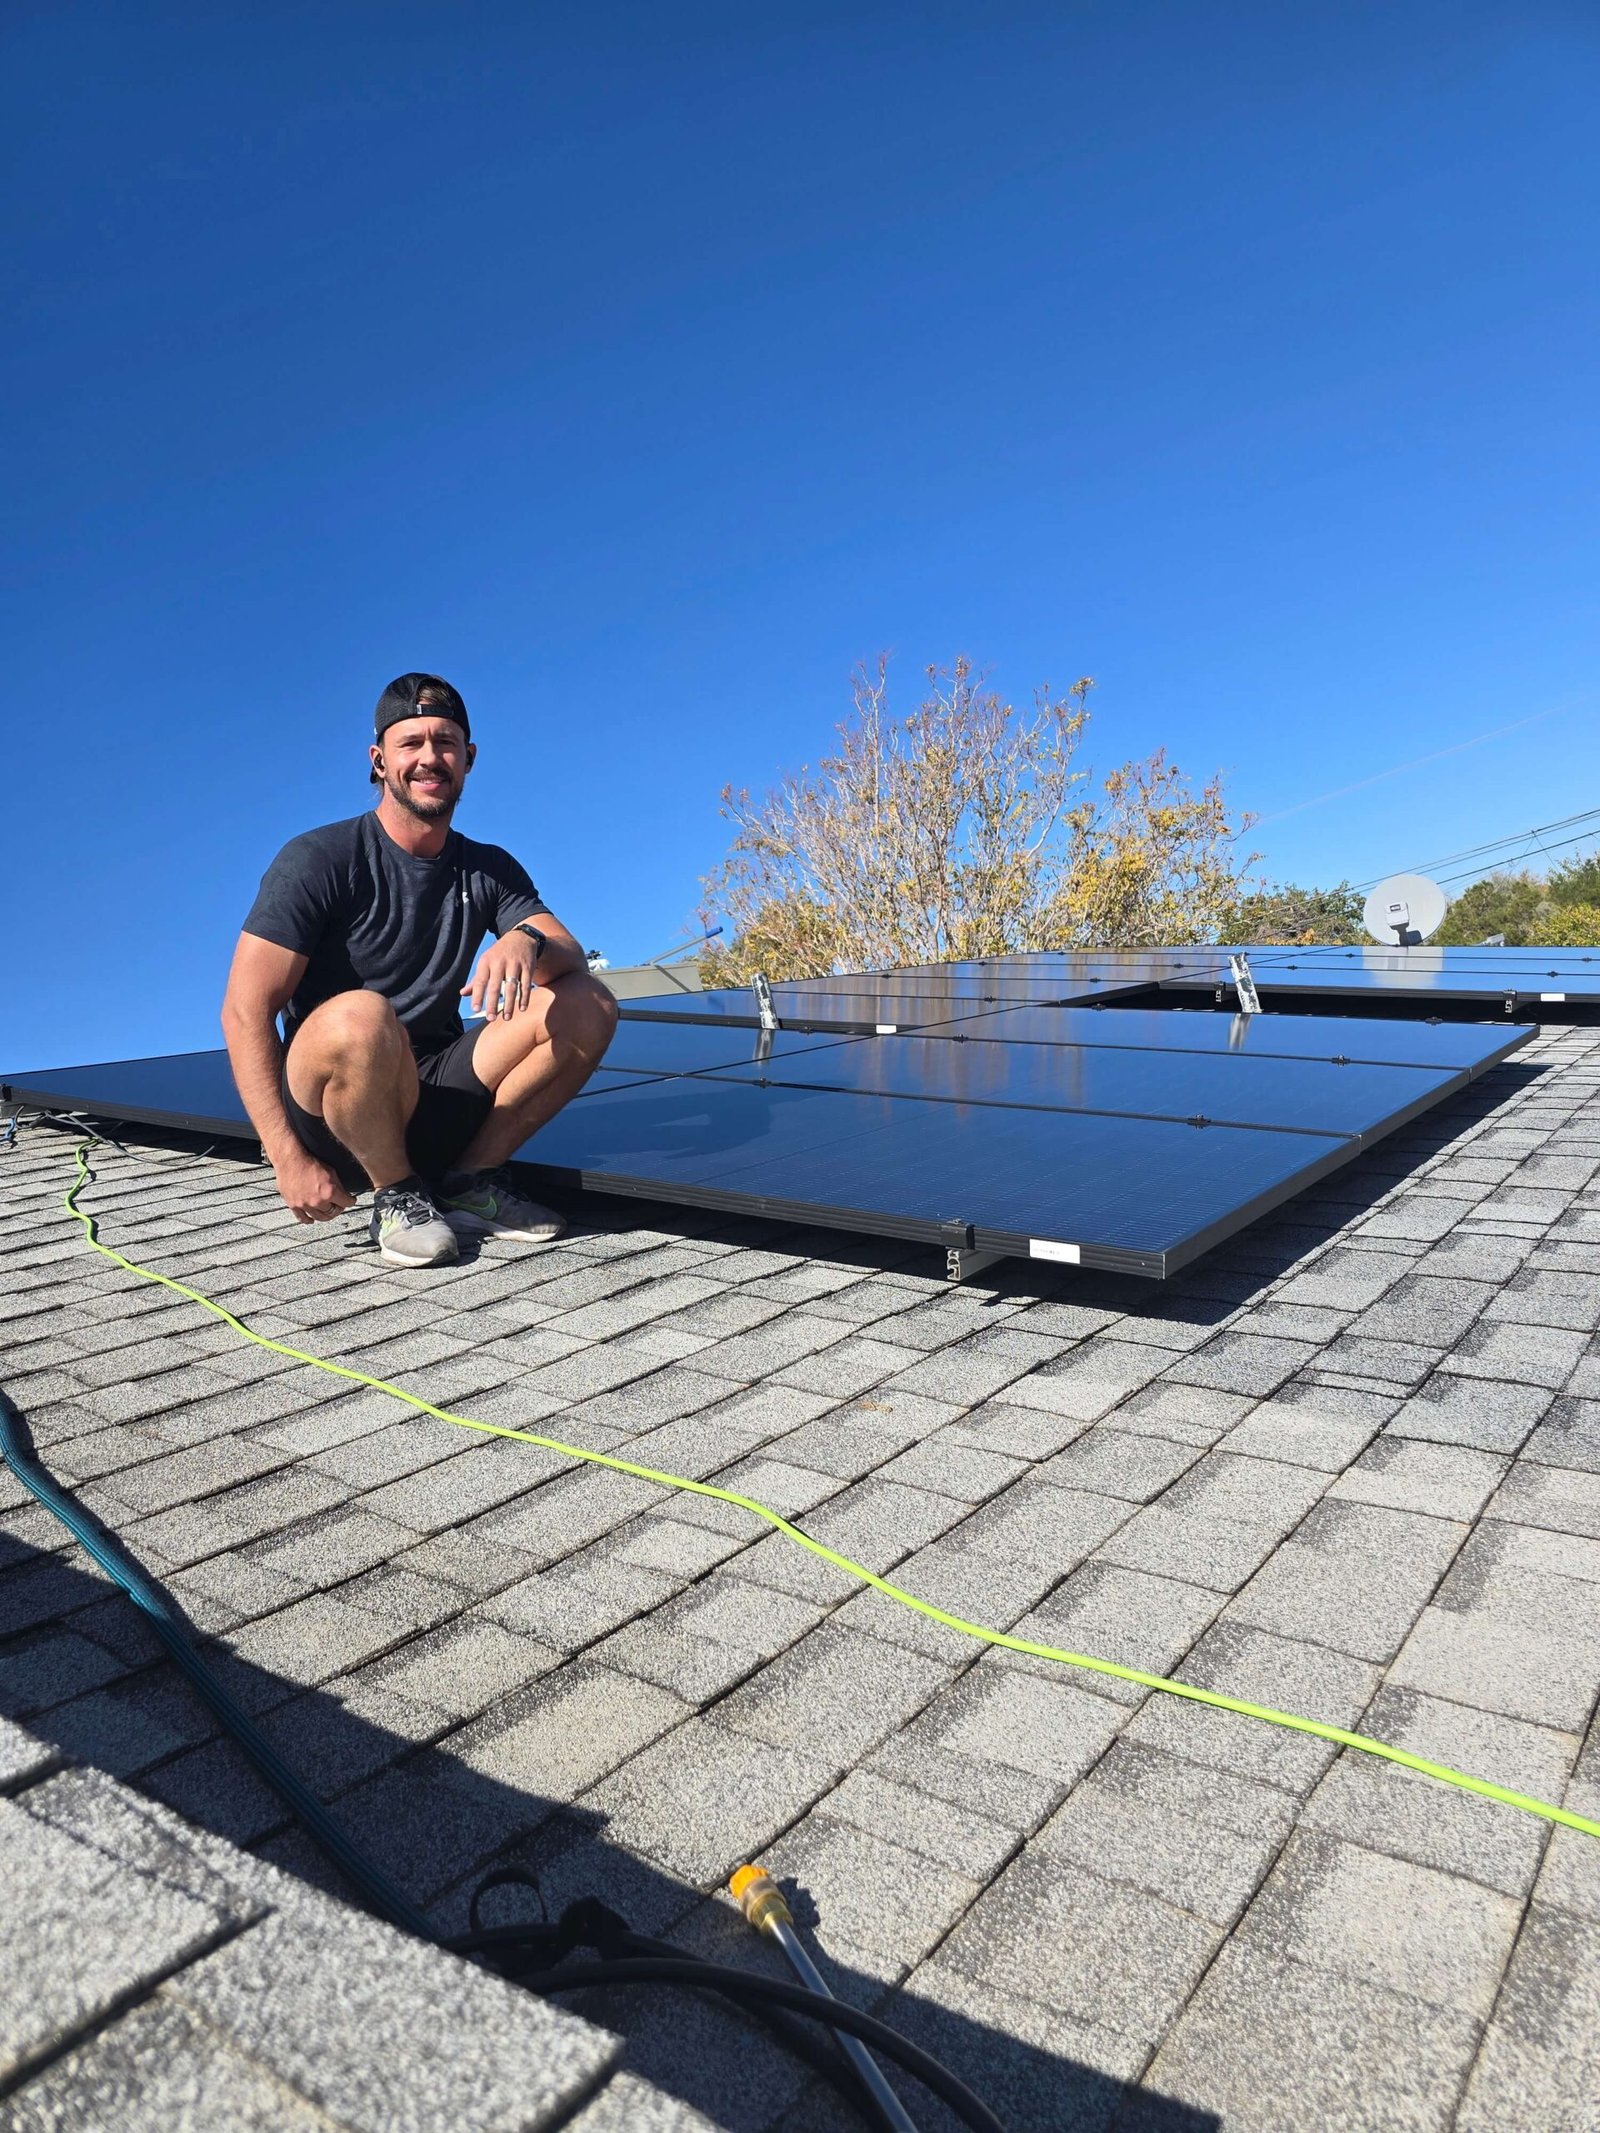
A critter guard for solar panels is a protective mesh or barrier installed around the edges of your solar panel array. It’s designed to prevent animals like birds, squirrels, pigeons, and rodents from nesting underneath your panels.
The mesh is usually made from durable materials like stainless steel or galvanized wire, which can withstand weather and resist rust or corrosion.
Key Functions:
-
Blocks access to the space under solar panels
-
Prevents wire chewing and damage
-
Keeps debris from accumulating
-
Reduces fire risks caused by nests or leaves
A critter guard acts like a shield—protecting your solar investment from the unseen threats that can drastically reduce performance over time.
Why You Need a Critter Guard for Solar Panels
Let’s discuss the main reasons why installing a critter guard is not just optional—but essential.
1. Protection from Animals
Squirrels and birds love nesting in warm, shaded spaces beneath panels. Unfortunately, their chewing habits can damage electrical wiring, leading to short circuits or complete system failure.
A well-installed critter guard for solar panels eliminates access, ensuring your panels remain undisturbed.
2. Prevent Fire Hazards
When birds build nests under your panels, they bring twigs, leaves, and dry grass—highly flammable materials.
If a wire gets damaged and sparks occur, it can start a fire. Installing a critter guard reduces this risk significantly.
3. Boost Energy Efficiency
When debris or nests block airflow, it can increase the panel’s temperature and reduce its efficiency.
Keeping the area clean and open helps your panels work at maximum output all year round.
4. Save Money on Repairs
Solar repair costs due to critter damage can range from $300 to over $2,000, depending on the severity.
A one-time investment in a critter guard helps avoid costly maintenance and downtime.
5. Extend System Lifespan
With proper protection, your solar panels can last 25 years or more. Critter guards minimize physical and environmental damage, extending the lifespan of your panels.
How Does a Critter Guard Work?
Critter guards are typically installed around the perimeter of your solar array, closing off the space between the panels and the roof.
The mesh design allows airflow and drainage while preventing any pests from entering.
These guards can be clip-on or adhesive-based, depending on the type of system and roof material.
Types of Critter Guards for Solar Panels
There are several types of critter guards available in 2025, each offering unique advantages.
1. Stainless Steel Mesh Guard
-
Most durable and weather-resistant
-
Ideal for long-term protection
-
Rust-proof and sturdy against rodents
2. Galvanized Wire Mesh
-
Affordable and effective
-
Provides strong physical protection
-
Slightly less durable than stainless steel
3. PVC-Coated Mesh
-
Offers added weatherproofing
-
Easier to install and cut
-
A good balance between cost and longevity
4. Plastic Clip-on Guards
-
Lightweight and budget-friendly
-
Best for DIY installations
-
Shorter lifespan compared to metal options
How to Install a Critter Guard for Solar Panels
Installing a critter guard may seem simple, but proper installation is critical for effectiveness.
Step-by-Step Installation Guide
-
Turn off your solar system before starting any work.
-
Clean the roof area around the panels to remove debris and nests.
-
Measure the perimeter of your solar array to determine mesh length.
-
Cut the mesh according to the panel edges.
-
Attach the mesh using clips or fasteners provided in the kit.
-
Check for gaps and ensure full coverage.
-
Inspect periodically to ensure it remains secure.
💡 Pro Tip: For maximum safety, always hire a professional solar panel critter guard installation service near you. They ensure a secure fit without voiding your solar warranty.
Signs You Need a Critter Guard Immediately
If you notice any of the following signs, you likely need to install a critter guard soon:
-
Birds frequently landing or nesting near your panels
-
Visible debris or droppings around panels
-
Scratching or scurrying noises from the roof
-
Reduced energy production in your system
-
Chewed wiring or loose cables
Ignoring these signs can lead to serious and costly damage.
Benefits of Installing a Critter Guard for Solar Panels
Let’s summarize the benefits of installing this protection system:
| Benefit | Description |
|---|---|
| Animal Protection | Prevents squirrels, birds, and rodents from nesting or chewing wires. |
| Improved Efficiency | Keeps panels cool and free from obstruction. |
| Longer Lifespan | Reduces wear and tear caused by critters. |
| Fire Safety | Prevents nest-related fire risks. |
| Cost Savings | Avoids expensive electrical repairs and cleaning. |
Maintenance Tips for Critter Guards
Even though critter guards require minimal maintenance, periodic checks help ensure long-lasting protection.
-
Inspect twice a year for loose edges or rust.
-
Clean debris trapped along the mesh.
-
Check after storms for displacement.
-
Replace damaged sections promptly.
Cost of Installing a Critter Guard for Solar Panels (2025 Update)
The cost of installing a critter guard varies depending on system size, roof type, and material used.
| System Size | Average Cost (USD) |
|---|---|
| Small Home System (10 panels) | $300 – $500 |
| Medium Home System (20 panels) | $600 – $900 |
| Large Commercial System | $1,000 – $2,000 |
While it may seem like an additional expense, it’s a one-time investment that prevents thousands of dollars in future repairs.
DIY vs Professional Installation
Many homeowners wonder whether to install critter guards themselves or hire experts.
| Factor | DIY Installation | Professional Installation |
|---|---|---|
| Cost | Lower upfront | Higher upfront |
| Quality | Depends on experience | Expert-level precision |
| Warranty Safety | May void solar warranty | Keeps warranty intact |
| Safety | Risk of roof damage | Safe and insured installation |
If you value safety and quality, hiring a professional critter guard installation service near you is the best choice.
How Critter Guards Improve Solar Battery Performance
A lesser-known benefit is that critter guards indirectly support solar energy battery storage systems.
By preventing damage and debris, your panels maintain maximum output, ensuring consistent charging for your solar batteries.
Stable performance leads to:
-
More efficient energy storage
-
Longer battery lifespan
-
Reduced energy losses
=
Final Thoughts
Your solar panels are a long-term investment that deserves protection. Installing a critter guard for solar panels ensures that your system performs efficiently, remains safe, and lasts for decades.
It’s a small, affordable upgrade that brings peace of mind, saves money, and protects your energy independence.
home